
Are you prepared so as to add a private contact to your kitchen or create a heartfelt reward for a liked one? Making a home made apron is a enjoyable and rewarding DIY mission. Observe this step-by-step information to craft your individual apron with ease!
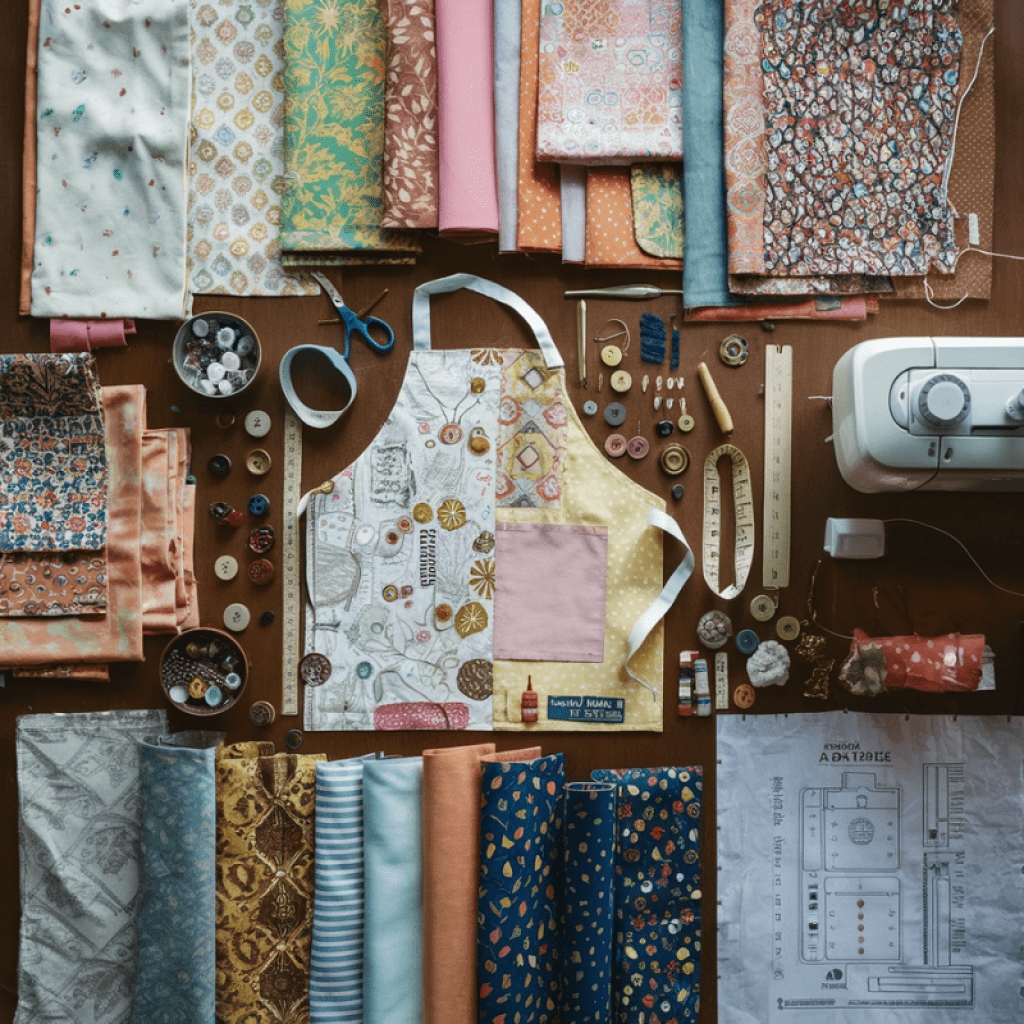
Supplies You’ll Want
- Material of your alternative (1-2 yards)
- Matching thread
- Scissors
- Measuring tape
- Pins
- Stitching machine (or needle for hand stitching)
- Iron and ironing board
- Sample paper (elective)
Step 1: Select Your Material
Step one is to pick the appropriate material. Cotton or a cotton mix is good because it’s straightforward to work with and sturdy. Go for a enjoyable print or a stable shade relying in your type.
Step 2: Create a Sample
You probably have an previous apron, you should use it as a sample by laying it flat on sample paper and tracing round it. Alternatively, you’ll find free apron patterns on-line. Guarantee your sample features a important physique piece and straps for the neck and waist.
Step 3: Lower the Material
Lay your material flat and pin the sample items to it. Fastidiously minimize across the sample, ensuring to incorporate a 1/2-inch seam allowance.

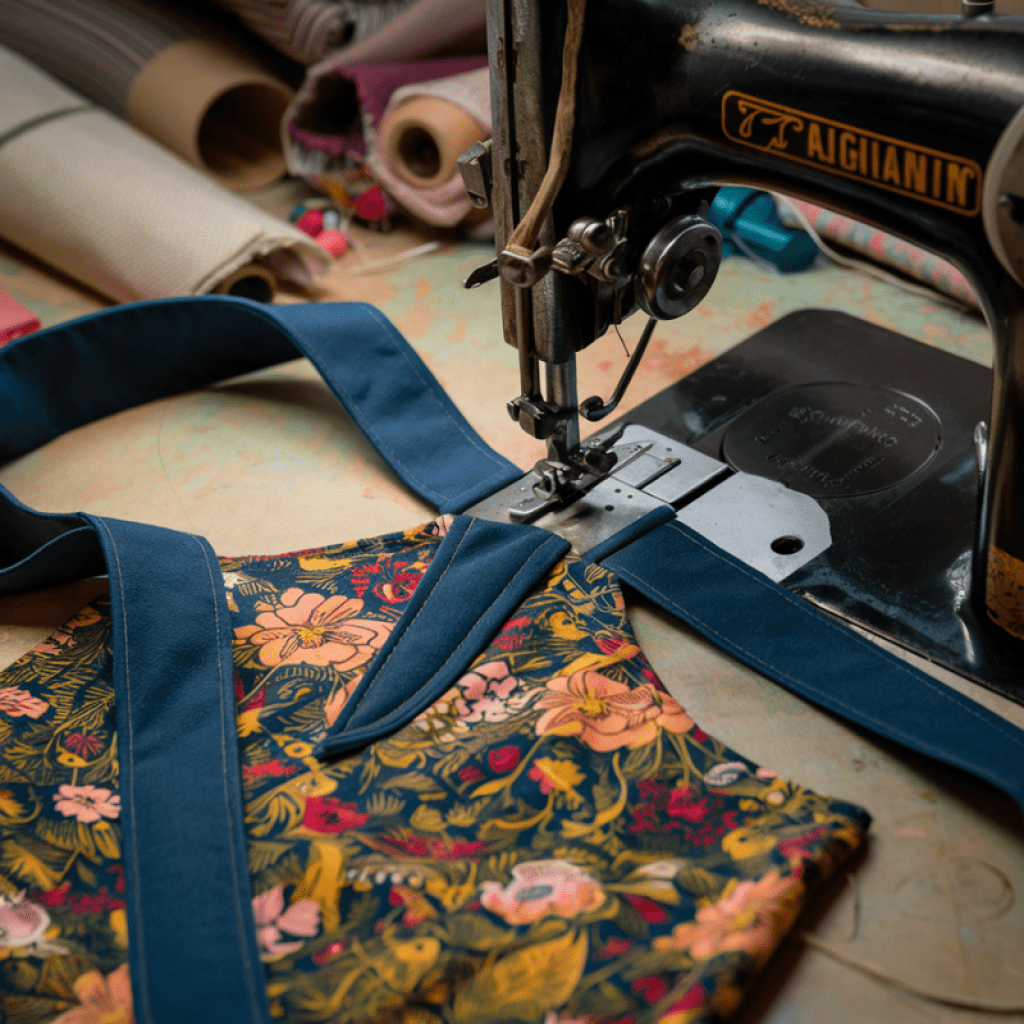
Step 4: Assemble the Apron
Begin by folding and ironing the sides of the primary physique piece to create a clear hem. Sew the hem in place utilizing a straight sew. Repeat this course of for the neck and waist straps.
Step 5: Connect the Straps
Pin the neck and waist straps to the primary physique piece. Ensure they’re securely connected and even on each side. Sew the straps in place with a straight sew, reinforcing the ends for additional sturdiness.
Step 6: Add Private Touches
Personalize your apron with pockets, embroidery, or material paint. This can be a nice technique to make the apron distinctive and particular.
Closing Ideas
Making a home made apron is a superb technique to showcase your creativity and stitching abilities. Whether or not it’s for your self or as a present, a hand-crafted apron is certain to be cherished.